Serpentshrine Cavern is one of the major Phase 2 25-player raids in The Burning Crusade Classic Anniversary. Located in Coilfang Reservoir, SSC features six encounters culminating in Lady Vashj. This raid introduces complex mechanics, multi-phase fights, and heavy coordination requirements.
Serpentshrine Cavern Overview
Phase 2 25-player multi-boss progression raid.
- Raid size: 25 players
- Reset: Weekly
- Location: Coilfang Reservoir (Zangarmarsh)
- Difficulty: Intermediate → Advanced
- Key rewards: Tier 5 Tokens, powerful trinkets & weapons
- Boss count: 6
Attunement & Requirements
Attunement required during original TBC progression.
- Level 70 required
- Complete heroic dungeon requirements (if attunement active)
- Strong raid awareness & positioning required
- Consumables highly recommended
SSC introduces heavy multi-target mechanics and coordinated add control. Individual mistakes often cause wipes.
Recommended Raid Composition
Balanced comp with strong ranged DPS and add control.
- 3 Tanks (4 helpful for progression)
- 6–7 Healers
- 14–16 DPS (Ranged favored on several fights)
- Strong Warlocks & Hunters for add control
Boss Strategies (In Order)
Progression path through SSC.
Hydross the Unstable
Elemental resistance tanking and phase transitions between Frost and Nature.
🛡️ Tanks
- Two resistance tanks required (Frost/Nature)
- Swap at 100% threat transition line
- Manage add spawns carefully
🩸 Healers
- Heavy spike damage during transitions
- Watch resist tanks closely
⚔️ DPS
- Stop DPS before transitions
- Kill spawned adds quickly
The Lurker Below
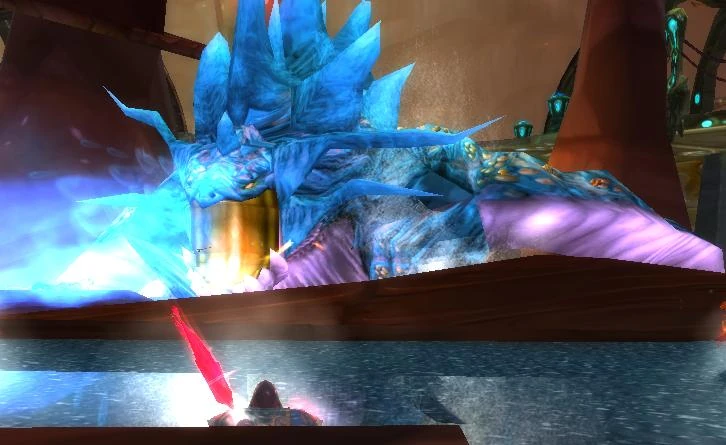
Platform awareness fight with submerge phases.
🛡️ Tanks
- Main tank on central platform
- Off-tanks pick up adds during submerge
🩸 Healers
- Spread across platforms
- Heavy damage during Spout
⚔️ DPS
- Avoid Spout by rotating with beam
- Kill adds quickly during submerge
Leotheras the Blind

Dual-phase demon/humanoid fight with inner demon mechanic.
🛡️ Tanks
- Separate humanoid and demon forms
- Control Whirlwind movement
🩸 Healers
- Watch players with Inner Demon
- Raid damage during Whirlwind
⚔️ DPS
- Kill Inner Demon quickly
- Spread for Whirlwind
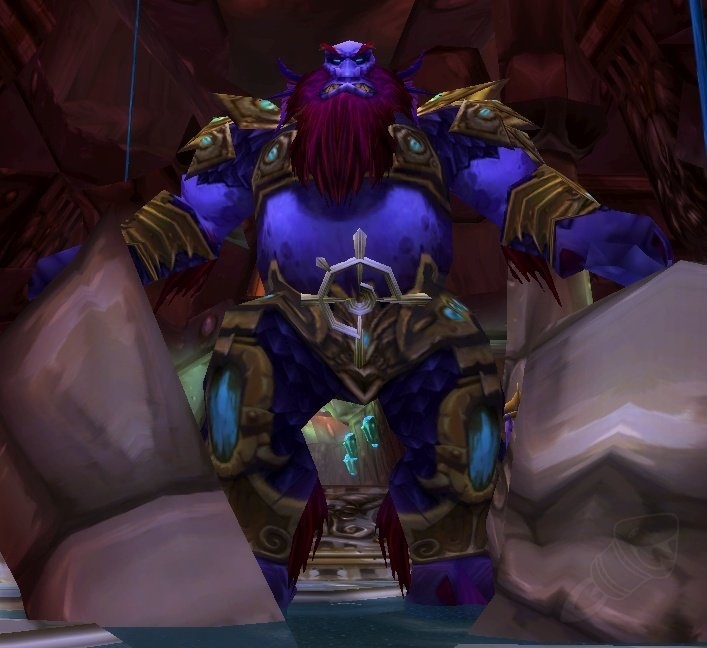
Fathom-Lord Karathress

Multi-target fight with three advisors and increasing boss power.
🛡️ Tanks
- One tank per add
- Pick up Karathress last
🩸 Healers
- Heavy tank damage during final phase
⚔️ DPS
- Follow strict kill order
- Interrupt heals
Morogrim Tidewalker
Massive raid damage and murloc add control.
🛡️ Tanks
- Main tank boss center
- Off-tanks gather murlocs
🩸 Healers
- Heavy raid damage during Earthquake
- Prepare for Murloc waves
⚔️ DPS
- AOE murlocs quickly
- Spread for Watery Grave
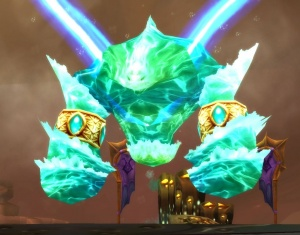
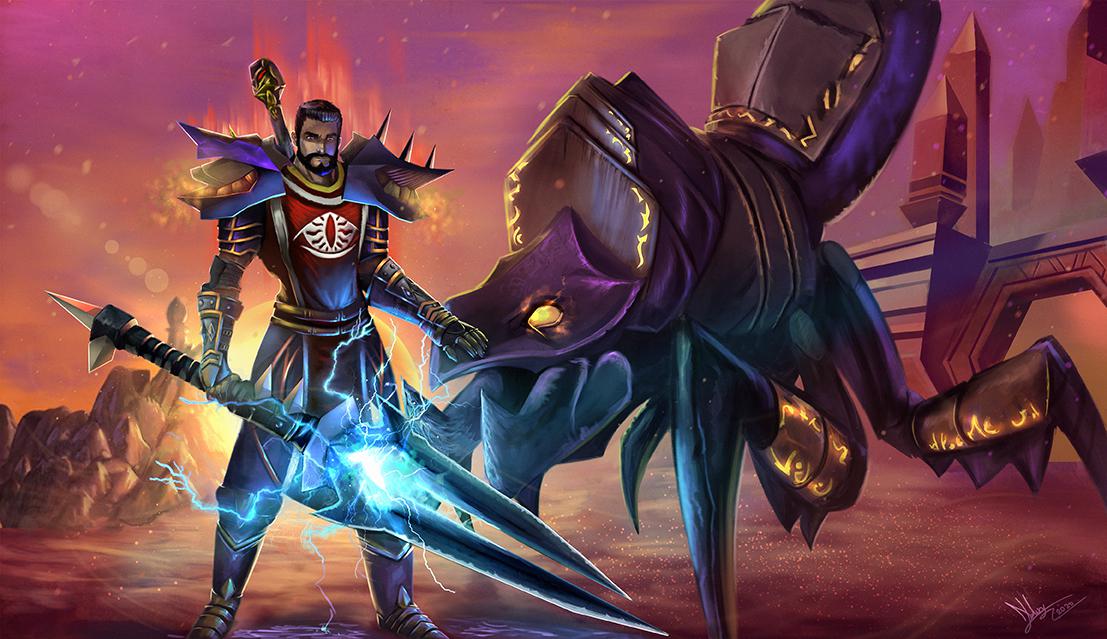
Lady Vashj
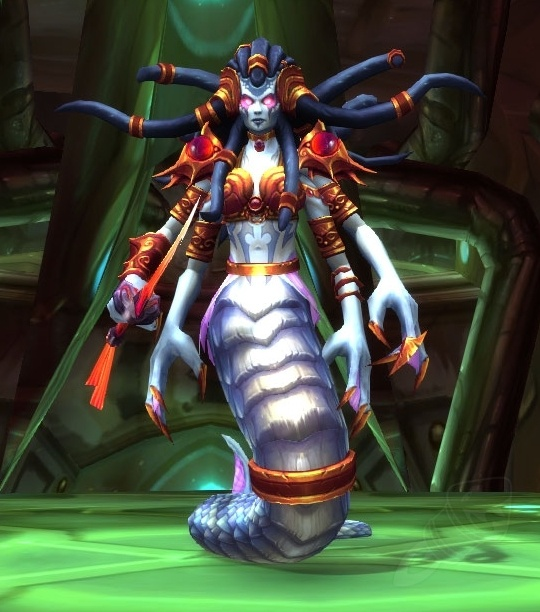
Three-phase encounter requiring core throwing coordination and add management.
🛡️ Tanks
- Main tank Vashj Phase 1 & 3
- Off-tanks handle adds in Phase 2
🩸 Healers
- Heavy raid damage Phase 2
- Save cooldowns for Phase 3
⚔️ DPS
- Control Striders and Naga
- Coordinate Tainted Core throws
- Burn Phase 3 efficiently
Phase 2 is the real progression wall. Assign core throw teams before pull.
Lady Vashj Phase 2 – Core Throwing Diagram
Coordinated core passing removes shield generators.
During Phase 2, Tainted Elementals drop Tainted Cores. These must be passed between players to reach the shield generator pillars around the room.
Do NOT run the core across the entire room alone. Use a passing chain.
             [ Generator 1 ]

        P1  →  P2  →  P3

 [ Generator 4 ]        [ Generator 2 ]

        P6  ←  P5  ←  P4

             [ Generator 3 ]


P = Assigned Core Pass Players
Arrows = Throw direction
Center = Lady Vashj (shielded)
Outer ring = Add control teams
Core Team Setup
- Assign 2–3 players per generator
- Dedicated Tainted Elemental kill team
- Call “Core ready” before throwing
- Always face target player when throwing
- Practice throw timing before serious pulls
Most wipes occur from dropped cores, panic throws, or uncontrolled Striders — not raw DPS issues.
Boss Difficulty Ranking (Progression Order)
Relative difficulty during Phase 2 progression.
- 1️⃣ The Lurker Below – Easiest once mechanics understood
- 2️⃣ Hydross the Unstable – Resistance gear check
- 3️⃣ Morogrim Tidewalker – Healing & AOE coordination
- 4️⃣ Fathom-Lord Karathress – Multi-target control check
- 5️⃣ Leotheras the Blind – Personal responsibility fight
- 6️⃣ Lady Vashj – Major progression wall (Phase 2)
Most guilds spend 60–80% of their SSC progression time on Lady Vashj alone.
30 Second Guides for All Bosses
Loot Highlights
Tier 5 tokens and high-impact upgrades.
- Tier 5 Helm & Leg Tokens
- Strong caster and ranged weapons
- Top-tier Phase 2 trinkets
- Resistance gear pieces
Addons & UI Recommendations
Phase 2 introduces heavy mechanic tracking requirements.
- Boss Mods (DBM / BigWigs)
- WeakAuras (Core throwing, transitions, Strider tracking)
- Threat Meter: ThreatClassic2
- Raid frames with range & debuff tracking
- WCUI optimized UI Packs
Clear visual tracking of debuffs and range indicators dramatically reduces wipes in SSC.
Serpentshrine Cavern marks the true escalation of TBC raid complexity. Master add control, positioning, and phase coordination — and Phase 2 progression becomes manageable.


Leave a Reply
You must be logged in to post a comment.